You need the commercial (ultimate) version of IntelliJ for this step by step instruction, the community edition does not support this type of project.. I am using IntelliJ ultimate version 2019.2 for this instruction.
First, preparations: Installing tomcat
- Extract the package to where you want to run the server, i will be using c:\work\tomcat
- You now should have a directory c:\work\tomcat\bin
- If you have your JAVA_HOME defined correctly and a jdk installed, simply run startup.bat
- Verify tomcat is working by visiting http://localhost:8080
Next, stop the server by closing the window. IntelliJ will start it for us when needed later on.
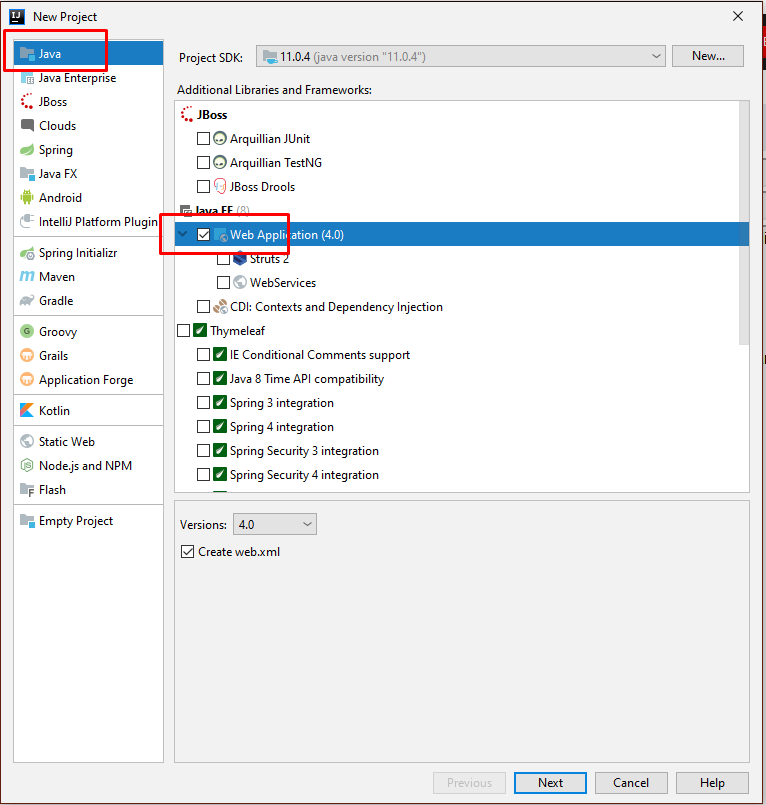
- Start IntelliJ, and choose File-New project.
- Start a web application
- Name your project
- Move on to the IDE
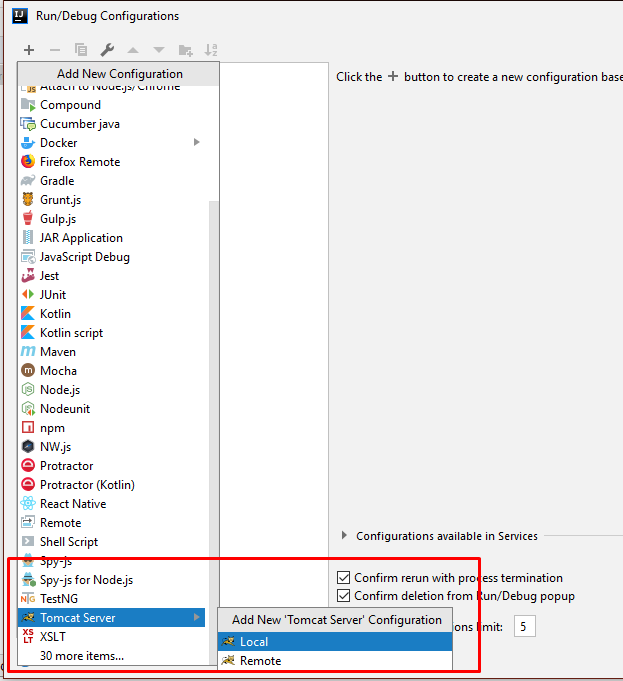
- Configure your tomcat location with menu option “Run/Edit configuration”.
- Hit the + icon to add a new item.
- If tomcat is not listed by default scroll to the botom of the list and choose the show more option.
- Next, select “Tomcat server”, choose local.
- The next screen allows you to name your installation, and select the location of the server.
- Hit “Configure” and browse to the location you extracted tomcat.
- When the directory is selected, the tomcat version will be listed in the dialog.

- With tomcat selected, move on to the deployment tab,
- hit the + button and select “Artifact”.
- This will add the tomcat artifact to your build configuration.
- Hit OK to complete basic configuration

We now have a clean project with a configured Tomcat server, let’s actually run something.
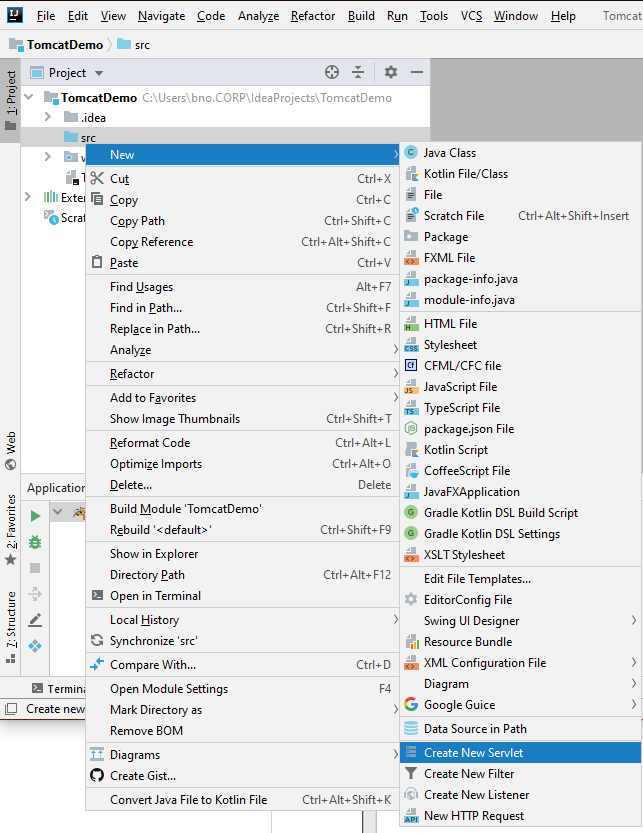
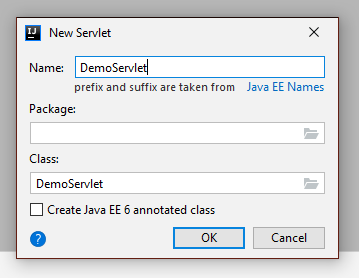
- In the src folder add a new servlet file
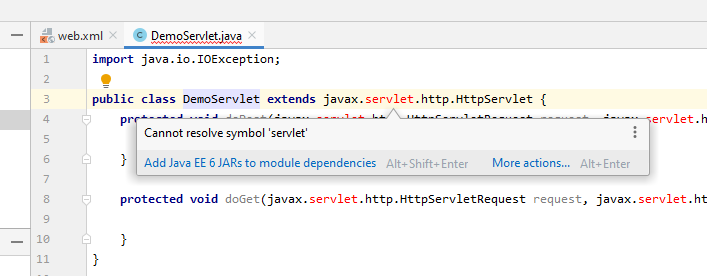
- Ignore the web.xml file that opens for now, and move to your servlet file. Upon opening, allow IntelliJ to add the missing packages.
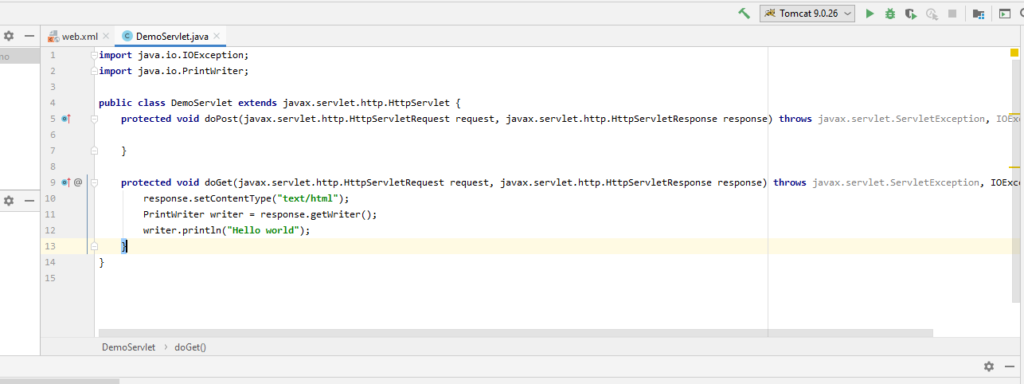
- Now we are ready to enter our epic hello world application code, into the Get method.
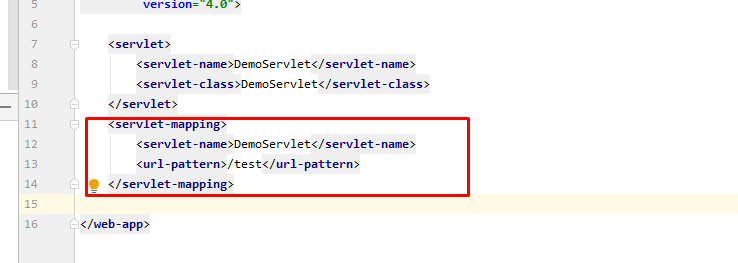
- To tell Tomcat where to host our servlet, we need to modify the generated web.xml file as outlined below.
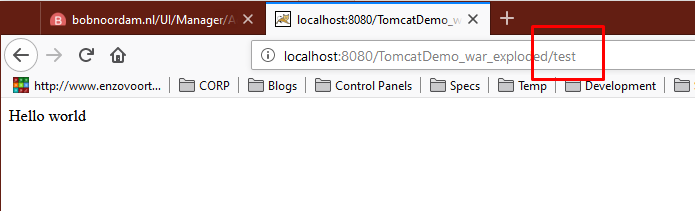
- This will map the url /test to our DemoServlet file
- Hit shift-F10 to run the application. When tomcat is started and the browser window appears, we can navigate to our configured url and run our servlet.